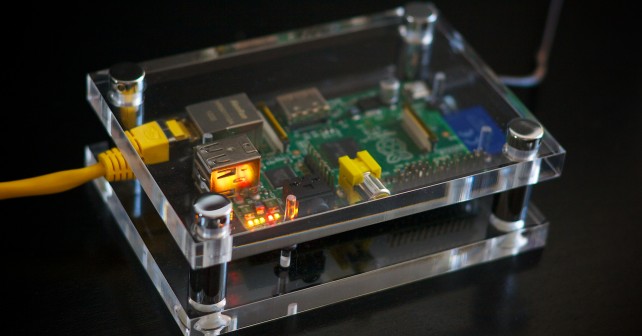
Since the time I heard about this credit card sized computer I stared dreaming about what all projects I can use it in. I have read a lot of posts and articles to understand the hardware and its capabilities. After a lot of reading I decided to buy one. As I live in India there was no direct seller so I have ordered one from UK via RS-Components here is the link .
Updat: 29-04-2016
I have been fiddling with my raspberry Pi model B from last 2 years and made quite a few projects. In this post I will explain what all you need to have, to start a project with raspberry Pi.
There can be multiple projects but for simplicity we can divide them in two categories “pure software” and “hardware and software”.
Pure Software:
RaspberryPi is generally used with raspbian OS and it supports python by default. SO you can write applications in python and extend the capabilities of your system.
Hardware and Software:
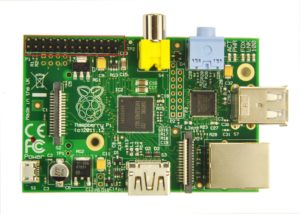
The real fun of building with raspberryPi is the capability of interfacing it with hardware devices generally (but not limited to) sensors. This enables you to build projects which read and process data from realworld. RaspberryPi has an array of 26 pins on the board out of which 17 are GPIO pins.

As high lighted in the red square in the image. These pins will be used to interface sensors with raspberrypi.
We are going to focus on second category i.e “Hardware and Software”. Before starting the project you need to have following items :
- A multimeter, this is the first and most important tool you need to start any electronics project. You can buy any multimeter but I would recommend a digital multimeter. There are plenty of multimeter available on ebay. Just get a basic one.
- A Breadboard. Breadboard is your best friend while prototyping. It will take all the hassle of connecting the wires together.
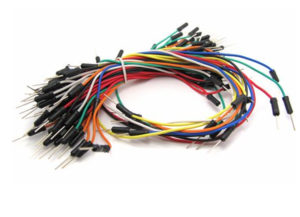
- Jumper Wires, you need a lot of them but make sure you buy a combination of male-male , female-female and male-female.

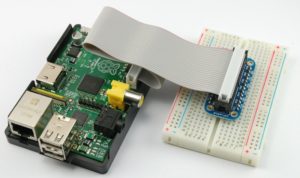
- GPIO to breadboard connector, this is not an absolute requirement and it can be achieved via male-female jumper cable but having this connector will speedup the development time and will give you a better interface on your breadboard.

- General components, last but not least you need a bunch of resistors and capacitors. Their value will vary from project to project. Best option will be to buy a RaspberryPi DIY(Do It Yourself) Kit from ebay.
All the above mentioned components are must before starting your first raspberryPi project. I am going to write about some of my projects in the coming days, all the best for your projects.


One Response to “Raspberry Pi – How to start a project”
July 24, 2015
BusinessFirstFamilyWill have to read this post a few times to be sure I got everything.