
This post is about making a wi-fi speaker which supports AirPlay so that you can play music via your iPhone. If you have an existing music system with aux (auxiliary) input you can use Raspberry Pi to make it support Airplay. However I have made the music system by myself using spare car speakers and then used Raspberry Pi to support Airplay.
The speaker system:
The good thing about electronics now a days is you can easily get custom components and all you need to do is assemble them. I had a spare set of 4 ohms 3-way car speakers both supporting 50 watts.
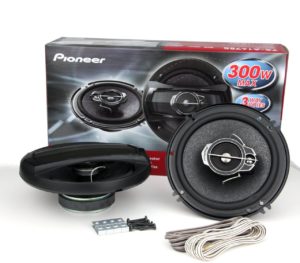
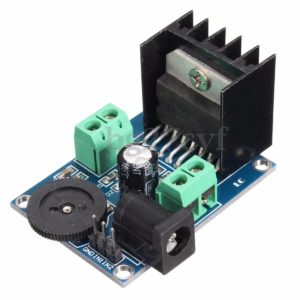
The output of speakers was really good but I can’t use them without an amplifier. So, I did some research and I found a reasonably good amplifier with connections for speakers and power supply. TDA7297 Audio Power Amplifier which work on 12v 3A power supply.
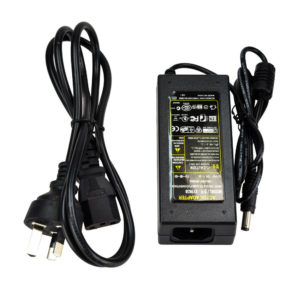
Along with this I have bought 12v 3A power adapter with three pin plug.
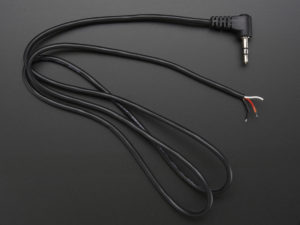
The amplifier doesn’t have a standard 3.5mm audio input but it had 3 pins(Left,Right and Ground) for audio input. So, I took a standard 3.5 mm audio jack aux cable and stripped its one end so that I can connect it to the amplifier.
After connecting the speakers, power supply and audio cable I have a full functional speaker system. Now we have to prepare and connect Raspberry Pi for supporting Airplay.
Raspberry Pi Setup:
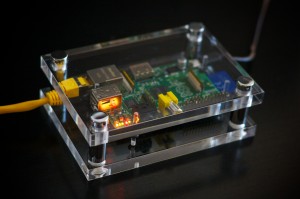
Raspberry Pi
I don’t want to have two different power supplies for amplifier and RaspberryPi so, I decided to use the existing power supply of amplifier. Raspberry Pi works on 5V and it is connected via micro usb, but the amplifier power supply is 12 v so, I decided to buy a 12 v to 5v converter with USB output so that I can easily connect it to the RaspberryPi. Once again after some research online I found one on eBay. It came with open wires at one to connect to 12 V supply. To make my setup easy to manage, I have also bought an easy to connect adapter to have it on one end rather than the open wires.
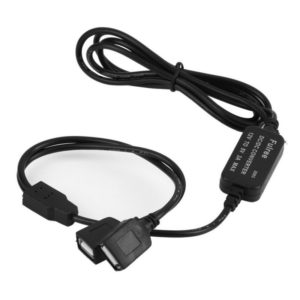
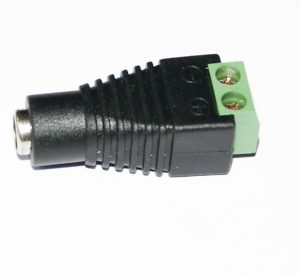
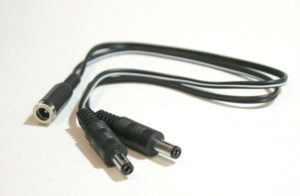
Now to make my 12V adapter to supply power to amplifier and 5V converter, I have also bought splitter-plug for the power adapter, so that I can easily connect the existing power supply to amplifier and the 12-to-5v converter.
Finally the whole hardware setup was done and it was time to take care of software part. I have started doing some research and found RuneAudio, it is an embedded hi-fi music player which has inbuilt support for Airplay. RuneAudio has a pre-build operating system image for Raspberry Pi which can be downloaded from their site.
After downloading the image, write the image on a memory card for booting the Raspberry Pi. Complete instructions can be found on RuneAudio website.
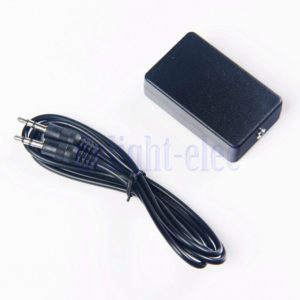
I have used the default audio port of Raspberry Pi for supplying audio signal to amplifier. At last everything worked and I was playing music from my phone to the speakers over wifi, but there was a lot of buzz noise caused by the ground loop (due to poor insulation of shared power supply between amplifier and RaspberryPi). So I bought a ground loop insulator.
Booting up the system:
Connect the LAN cable to Raspberry Pi and power it up. RuneAudo has a web-based interface and can be accessed on your local network. Open http://runeaudio.local to access the player. You can set up and add your wi-fi from this web-interface. After this you can boot up your Raspberry Pi without connecting it to a LAN cable.
Final Product:
I have put my speakers in a white cardboard box and mounted amplifier and power supply inside it. I have kept the Raspberry Pi outside for easy access. Here is how it looks.
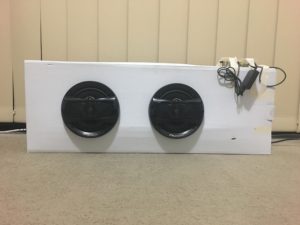
Right now I am able to play music to these speakers from my iPhone and my windows laptop. I am still working on a way to play music from my Ubuntu Laptop. I will update the post with more details when I succeed.


One Response to “Raspberry Pi and spare car speakers for wifi boom box”
October 2, 2020
AndrewMy thoughts encapsulated except swap out Dali for Spendor.